
Our customers often ask questions on how to paint figures of polyamide. We offer a solution based on the master-class on painting Gadgets’ figures, a character from the cartoon "Chip 'n Dale Rescue Rangers." Master-class is prepared by Gregory Krasnoperov – the author of Gadgets’ 3D model.
Filter for replacement: applying 3D-printing for making unique components
1st stage: preparations
You will need:
• Acrylic paints
• Any brushes made of natural or synthetic nap. Brush size depends on the size of the figures. For painting Gadgets’ figure 10 cm high, we used brushes size #2, 6 and 10.
• cotton swab to wipe drips.
• Masking tape to protect painted or yet unpainted places (you can do without it, if the hand is sure).
• Jars with lids for paints.
• Palette. You can simply use a white sheet of paper as a palette.
• Aerograph (spray gun) if you plan to cover the model with one color. This allows to apply color with a minimum layer thickness.
Now when you have all the materials, mix colors and organize working space.
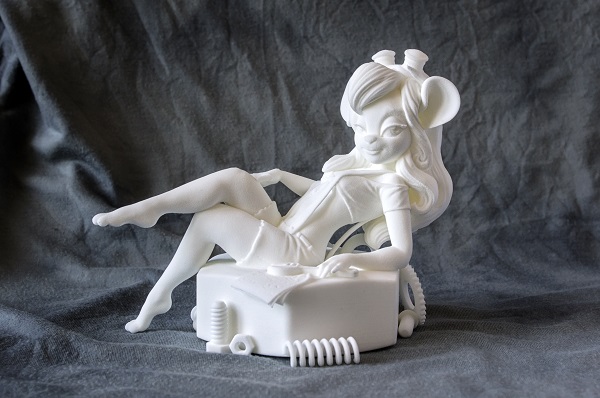
Gadgets’ model before painting. Material: white polyamide.
2nd stage: preparations
Painting should be done gradually. Once painted one piece, give it to dry. Only when the colored portion of the model is dry, you can paint another.
The surface of a polyamide 3D model does not require special preparation. However before you start painting, make sure that your model is completely free of unsintered polyamide powder. Otherwise, during the painting powder can crumble from the surface at the most inopportune moment. To avoid this, it is enough to dust the surface with whitewashing brush or any other brush and remove any excess powder. After that, for best results it is recommended to degrease the surface.
Features:
All paint colors lie on the surface about the same, but the consistency (proportion of paint and water) plays a significant role.
• Liquid paint permeates the surface, fills in the pores and fine detail, even after the application is still spreading across the surface. At the same time using the liquid paint glaze one can gradually achieve the desired hue and saturation.
For example that is how the skin of “Gadget” was colored. The first pass turned to be too pale. As a result, a triple coating was applied. Even after careful application paint leaked out of shapes’ borders.
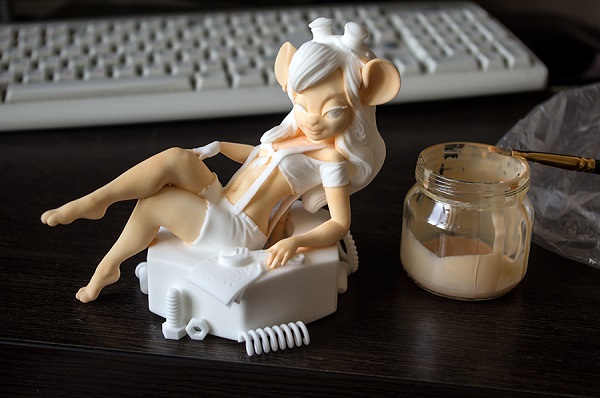
Gadgets’ model with partial liquid acrylic paint coating.
• Paint without any water provides thick layer. However, it does not penetrate into the small pores and openings. It also reveals rough texture of polyamide. In this case, thick paint keeps borders well and does not flow.
Stages of painting:
1. Make sure that all the models are free of unsintered polyamide powder.
2. Consider how, and in what order to paint the different parts of the model.
3. The main rule: move from light to dark. Light areas are easily overlapped with darker shades, while to cover the dark area with light you will need a thick layer of paint.
4. Paint from the general to the particular. First, cover the largest parts and only then move on to the small things.
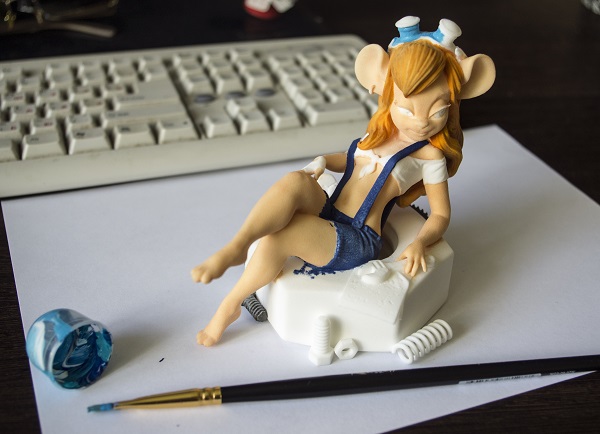
Gadgets’ model with large parts painted.
Stage 3: completion
Drying the model and cleaning of working surface.
First, painting individual elements takes more time, and then everything goes faster while getting more experience. Painting the whole model height of about 10 cm may take 6 to 8 hours. One layer of paint dries in about 5-10 minutes. You can paint, then wash the brush (always wash the brush before you change to another color). During this time the layer of paint dries and you can continue.
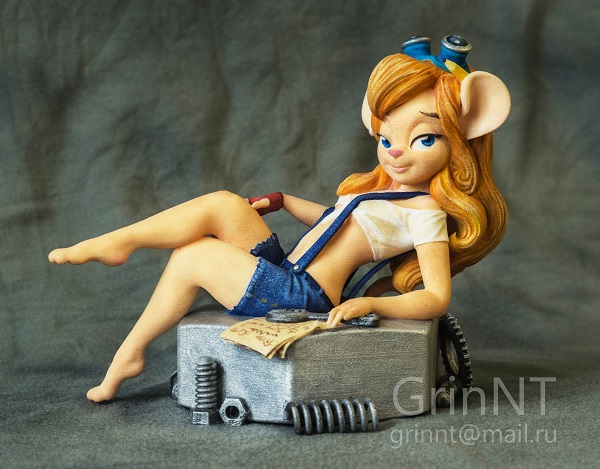
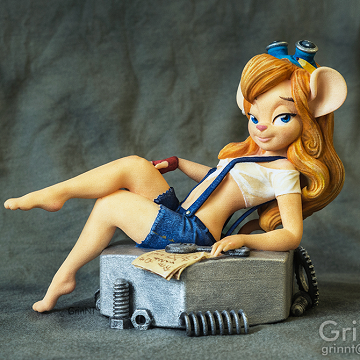
Fully painted Gadgets’ model.
There is a way: to save time, use several brushes for different colors and cover model parts not contiguous with each other.
Upon completion of the painting, it is important to close tightly all the jars with mixed paints to prevent it from drying and wash the brush. Mixed colors might be useful in painting other models.
The main difficulties:
If the 3D model has many details, you might have problems painting hard-to reach places. Here you will come in handy masking tape. For example, the model of Gadget these were reverse side straps, hair and tail. Had a long time to adjust in order to apply paint and not to stain the surrounding parts.
We thank Gregory Krasnoperov for assistance in preparing the master class! Print with us your 3D models and we will help with advice or deed in their postprocessing.
Send your orders, questions and suggestions to mail@prototypster.ru
Toy story: how to create lifelike bjd-dolls using 3D-printing